How to Restore Old Photos with AI: A Step-by-Step Guide
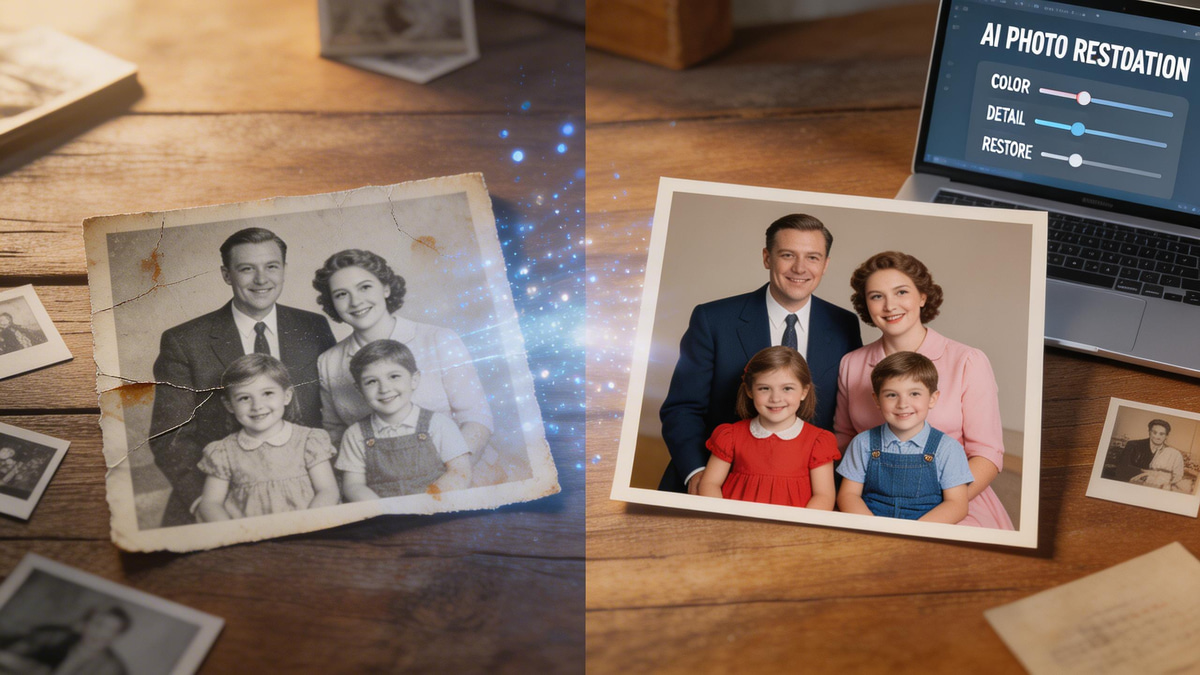
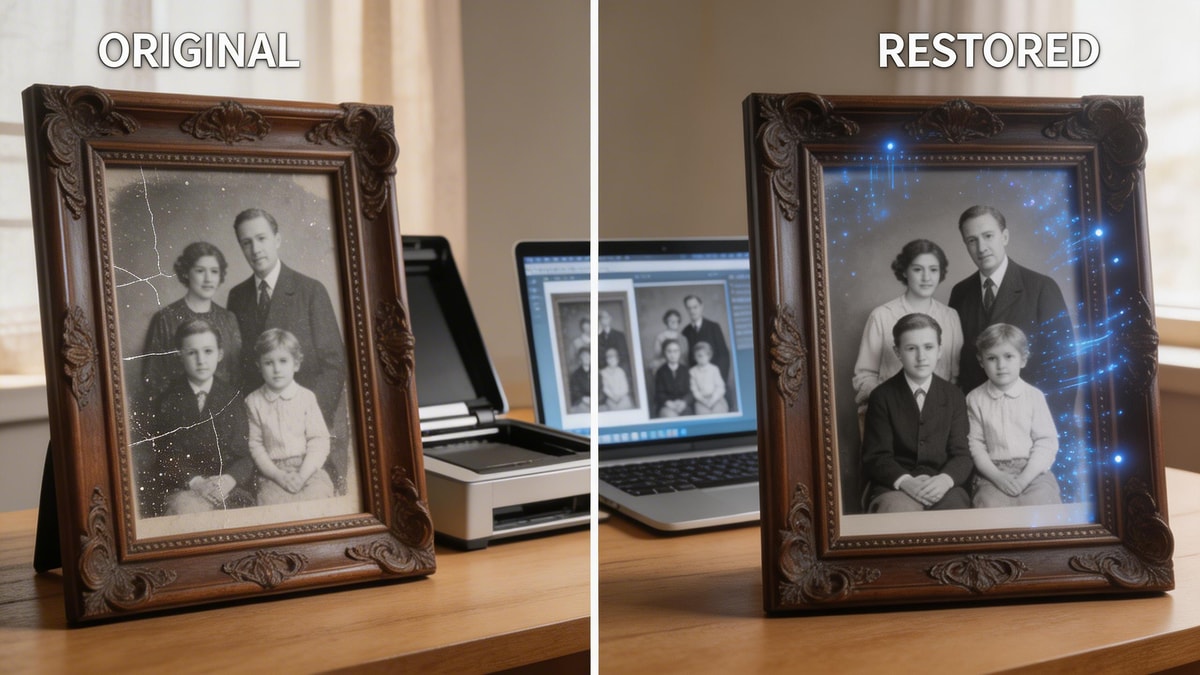
Time takes a toll on our physical memories, leaving behind creases, water spots, and lost colors. If you are wondering how to restore old photos without spending hundreds of dollars on a professional service, you are in the right place. Thanks to advanced AI, preserving your family's legacy is now incredibly fast and accessible. Let's dive into the ultimate method for bringing your cherished images back to life.
Industry Insights & Data
Before jumping into our restore faded pictures tutorial, it is important to understand just how rapidly AI is transforming digital media. Previously, trying to fix scratched old photographs required complicated desktop software and hours of manual labor. According to industry data, the demand for AI-driven image generation and editing tools is surging, making high-end editing capabilities accessible to everyday users. If you are exploring how to repair damaged photos, you are participating in a massive consumer shift toward AI-powered visual enhancement.
| Source Name | Published Year | Key Data/Statistic | Report Link |
|---|---|---|---|
| Grand View Research | 2024 | Global AI image generator market size projected to reach USD 1.08 billion by 2030 | View Report |

The Tools: Essential AI Features for Your Project
Every successful vintage photo restoration guide starts with selecting the right toolkit. When you dive into DIY old photo restoration, you need software that inherently understands the nuances of aged paper, low-contrast subjects, and physical wear.
MyShell AI offers specialized creative tools tailored to handle these specific challenges. If your heirloom picture has distracting background elements, unknown photobombers, or unwanted visual artifacts from being stored improperly, you can seamlessly clean up the composition using the Remove Person from photo tool. Additionally, if the lighting in the original shot was poor or the ink has degraded over decades, applying the Pro Light Effect Filter can instantly revive the contrast and color depth. Having these AI tools at your disposal is the absolute secret to mastering how to repair damaged photos.


Step-by-Step: How to Restore Old Photos
Step 1: Digitize the Original Image
Before you can fix scratched old photographs, you must secure a high-quality digital scan. Use a flatbed scanner set to at least 300 DPI, or a dedicated scanning application on your smartphone. Ensure the physical print is well-lit and perfectly flat to avoid glare and distortion.
Step 2: Clean Up Physical Damage and Blemishes
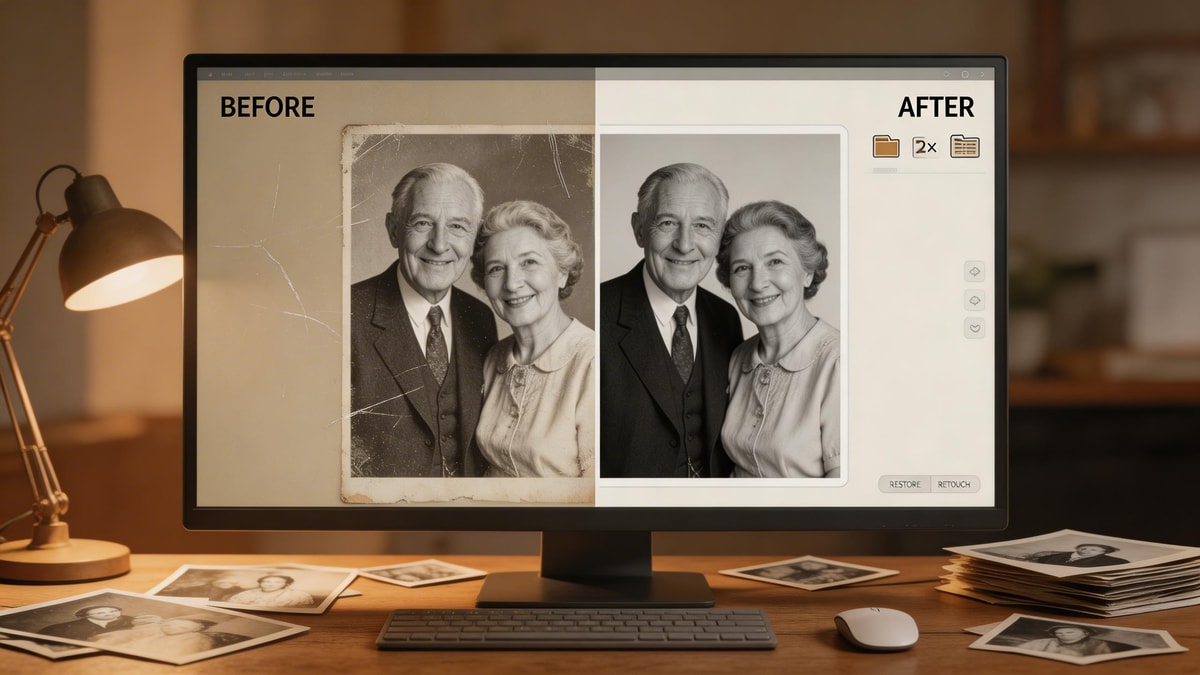
The next critical phase in this DIY old photo restoration workflow is removing physical imperfections. Upload your scanned image to your chosen AI platform. Utilize spot healing and object removal features to seamlessly erase deep creases, dust spots, and edge tears.
Step 3: Correct Lighting and Expand Borders
Often, vintage prints feature torn edges or were cropped too tightly by the original photographer. You can use the AI Image Expander to naturally extend the borders of your image without losing the original historical context. Once the frame is expanded, apply lighting correction to lift the shadows.
Step 4: Upscale and Enhance Details
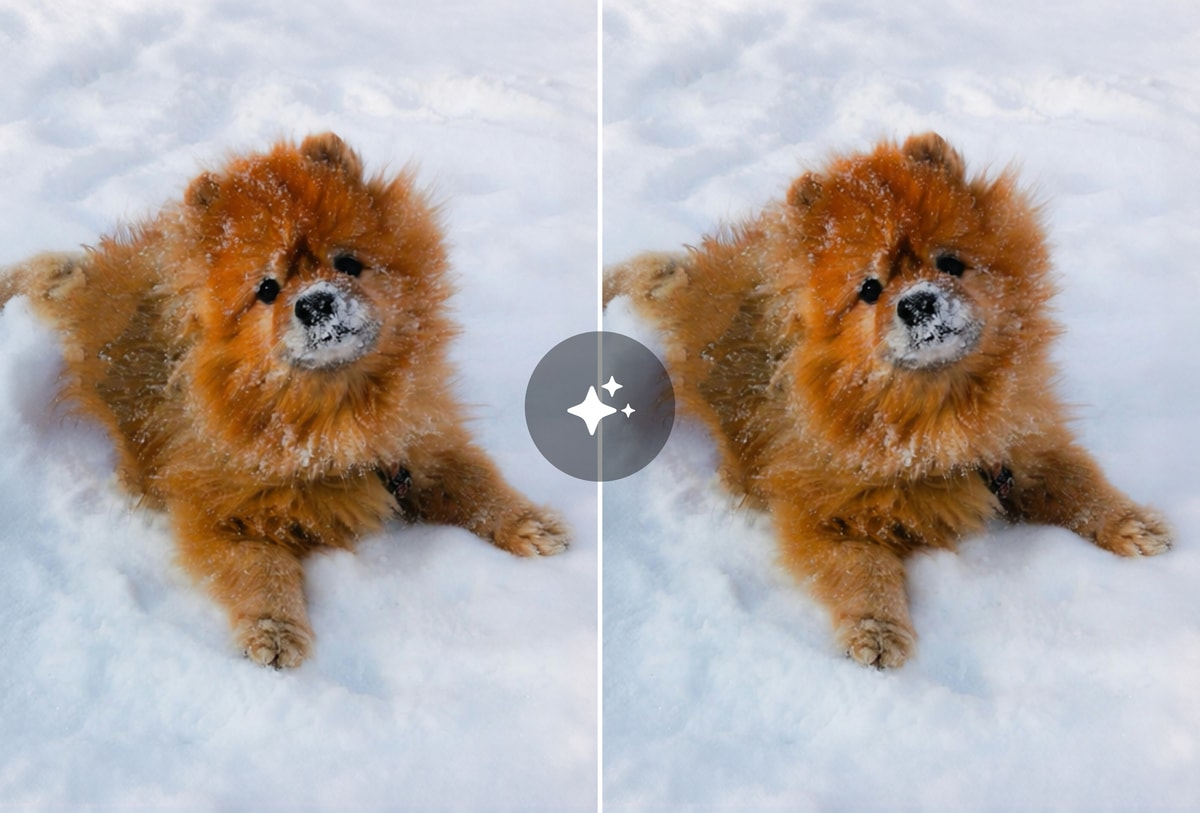
The final step in our restore faded pictures tutorial involves running the file through an AI upscaler. This process sharpens blurry faces, refines clothing textures, and produces a crisp, high-resolution final file that is ready for printing and framing.

Pro Tips for Flawless Results
Expert Advice: When figuring out how to repair damaged photos, always work on a duplicate copy of your scanned digital file—never overwrite the original scan. If your goal is to fix scratched old photographs without making the subjects look like plastic, apply AI enhancement in moderation. Over-sharpening can quickly make historical portraits look artificial or overly modern. The golden rule of any vintage photo restoration guide is to preserve the authentic character of the era while strictly removing the damage.
Conclusion
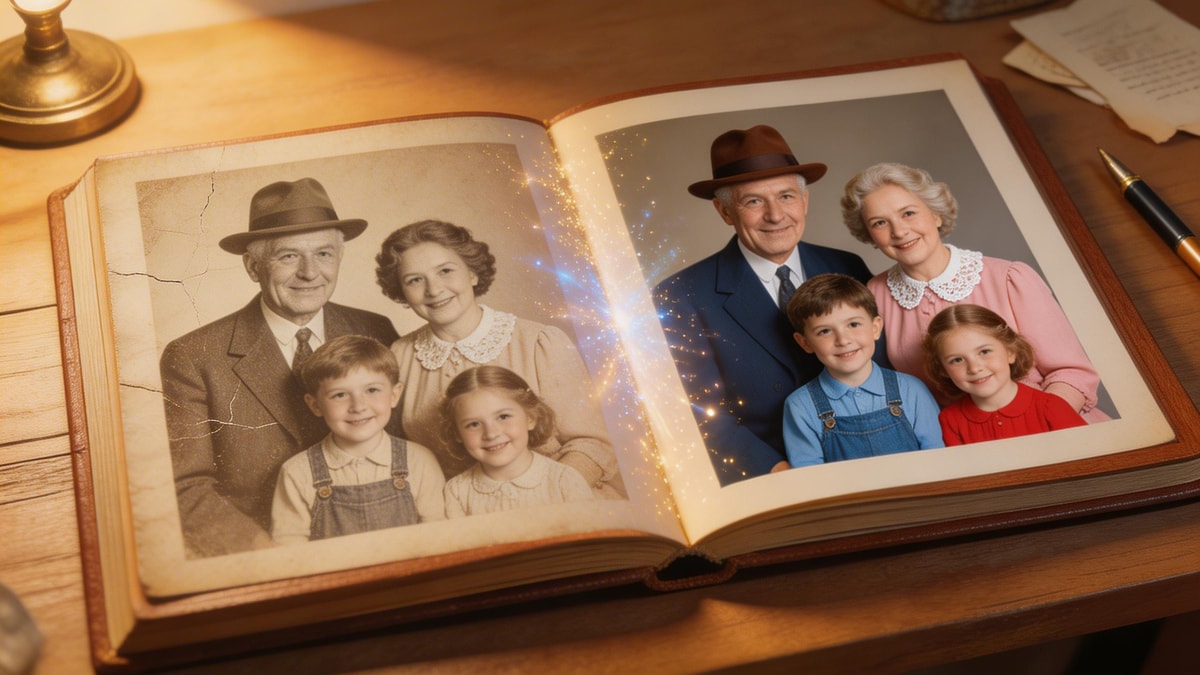
Mastering how to restore old photos empowers you to rescue your family’s precious legacy from physical degradation. As we have covered in this restore faded pictures tutorial, artificial intelligence has completely streamlined the entire editing process. By following this vintage photo restoration guide, you no longer need to be a professional graphic designer to achieve stunning, print-ready results. Utilizing modern generative tools makes DIY old photo restoration highly accessible, incredibly fast, and deeply rewarding. Start digitizing your collection today and give your history the vibrant life it deserves.
FAQ
Q: Can AI completely fix scratched old photographs?
A: Yes, advanced generative AI algorithms can automatically analyze the surrounding pixels and seamlessly fill in cracks, scratches, and dust spots, making the damage virtually disappear in seconds.
Q: Is DIY old photo restoration safe for my original prints?
A: Absolutely. The entire process is strictly digital. As long as you carefully handle and scan the physical print, your original photograph remains completely untouched and safely preserved.
Q: What is the best method to use if I am looking for a quick restore faded pictures tutorial?
A: The fastest method is to scan your picture and run it through an all-in-one AI enhancement tool. Using lighting and colorization filters can instantly adjust contrast and restore faded hues with a single click.
Q: Where can I find a comprehensive vintage photo restoration guide?
A: This article serves as your foundational starting point! For more severe damage, you can combine generative AI tools with basic digital editing software to learn exactly how to repair damaged photos step-by-step.
Previous article
How to Make an AI Video from a Photo: A Step-by-Step Guide